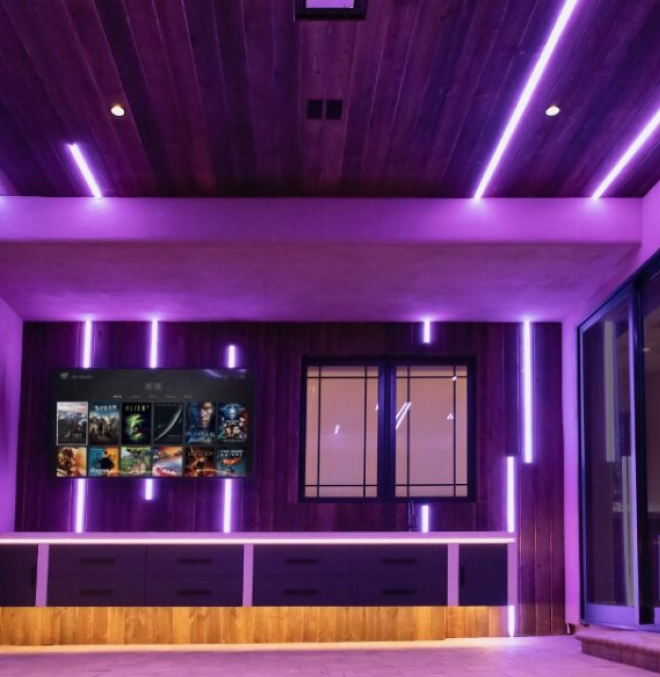
Smart Lighting Control Systems Automation Circuit Diagram An automatic lighting system with Arduino is a system that uses an Arduino microcontroller to control the lighting fixtures based on various conditions. The Arduino board is a small, low-cost computer that can be programmed to read input from sensors, perform calculations, and control output devices such as relays. This makes it an ideal
The Arduino Cloud provides a simple, secure, hardware agnostic solution for building a smart lighting system. It provides a single point of connection that doesn't require a hub, and provides easy setup combined with full, open access to all functions. The point of entry is very simple when it comes to a smart lighting system in Arduino Cloud.

Automatic lighting system with Arduino Circuit Diagram
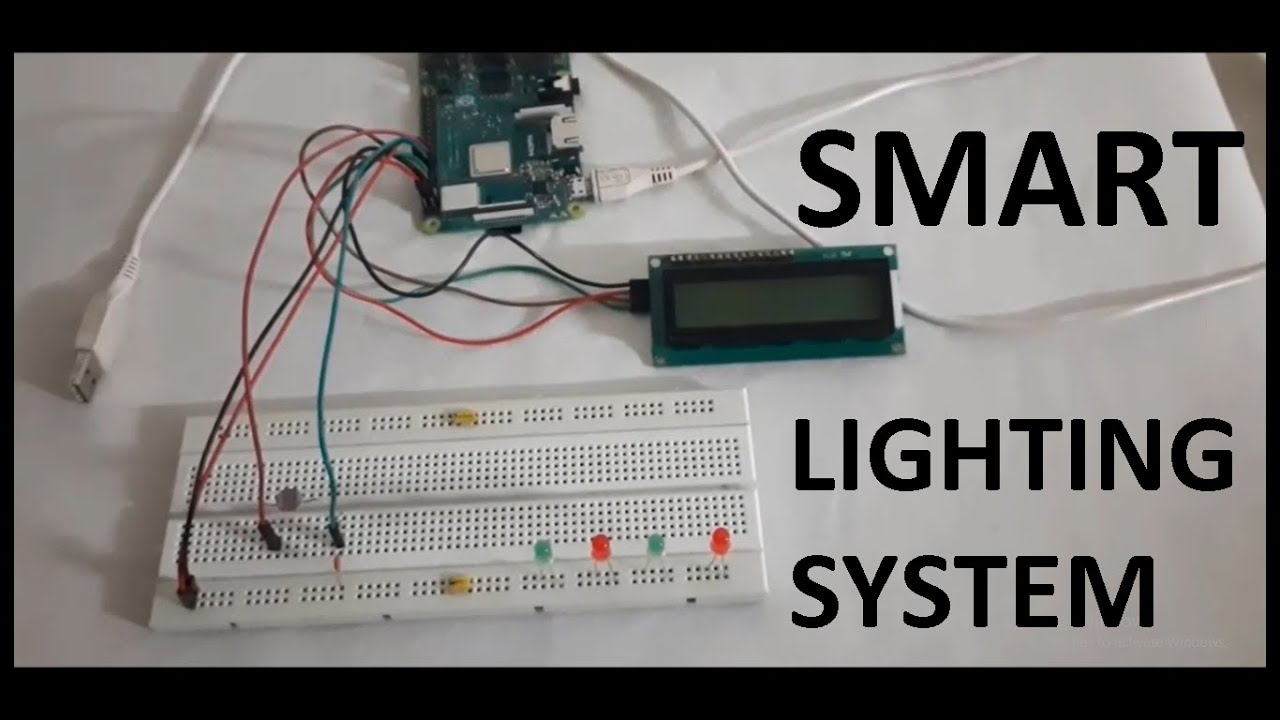
What components do I need to build a smart lighting system using Arduino? To build a smart lighting system using Arduino, you will need some basic components, such as an Arduino board, LED lights, resistors, breadboard and jumper wires. You can also add sensors, relays and wireless modules to your setup.

Arduino Smart Lighting Control System - SHProject 3: I have a small IT closet that houses the Internet ONT, WiFi router, network printer and Ethernet switches along with data and media servers. It also serves as a distribution point for the low voltage wiring and all the Cat6 Ethernet cable for my hom… A Bluetooth-controlled smart light using Arduino Uno is an innovative project that combines the power of Bluetooth technology and the flexibility of Arduino microcontrollers to create a smart lighting system that can be controlled wirelessly using a smartphone or tablet. With this project, you can turn on/off your lights with just a few taps on
The Perfect Automatic Lighting System Using Arduino + LDR + PIR Circuit Diagram
A: Arduino is a great platform for smart light control because it is relatively inexpensive and easy to use. Arduino also offers a wide range of sensors and modules that can be used to create a variety of different smart lighting projects. Q: What are some tips for building Arduino smart light control projects? A: Here are a few tips for 1.Connect one of the LDR leg to the VCC (5v of the Arduino). 2.Connect the other LDR leg to the A4 pin Of Arduino and also to the resistor. 3.Connect the (empty) resistor to the GND of the Arduino. Note: You can see all the connections in the picture above. 2. Arduino and PIR motion sensor. The PIR sensor has three pins : 1. VCC . 2. GND . 3. OUT The Smart LED Control System Using Arduino is an innovative project aimed at demonstrating remote control technology using Arduino for smart lighting solutions. This project uses an Arduino microcontroller along with basic components like LEDs, resistors, a breadboard, and a remote control interface (infrared or Bluetooth module).
In Smart Light project, the Smart bulb will glow in Dark & automatically off in Light or Daylight using LDR (Light Detective Resistor) Arduino UNO. 1. Breadboard (generic) 1. Resistor 1k ohm. 1. LDR, 5 Mohm. 1. Jumper wires (generic) 1. Relay Module (Generic) 1. LED Light Bulb, Frosted GLS. Apps and platforms. 1. Creating a voice-controlled smart lighting system with Arduino is not just a fun project; it's a practical way to enhance your home. Imagine impressing your friends with your tech-savvy skills or simply enjoying the convenience of controlling your lights with your voice. So, gather your materials, follow the steps, and light up your life
