How to Build a Raspberry Pi Smart Mirror Circuit Diagram Connect the Raspberry Pi to the monitor using an HDMI cable. Also, connect the power supply to the Raspberry Pi and ensure that it is functioning correctly. Final Assembly of the Smart Mirror. With all components in place, complete the final assembly by securing the mirror, monitor, and Raspberry Pi within the frame.

Discover how to create an advanced Raspberry Pi smart mirror with our step-by-step DIY guide, perfect for tech enthusiasts and home automation lovers! Users can benefit from choosing the right model based on intended usage scenarios. For instance, the Raspberry Pi 4 features a quad-core processor and up to 8GB of RAM, making it suitable for Frame for the mirror; Power supply for the Raspberry Pi; MicroSD card (at least 16GB) HDMI cable; Python libraries (Flask, requests, etc.) Setting Up the Raspberry Pi. First, you need to set up your Raspberry Pi. Install the latest version of Raspberry Pi OS on your microSD card. You can use the Raspberry Pi Imager for this. Once the OS is

Powered Smart Mirror for Daily Updates Circuit Diagram
First you need to have a Raspberry Pi 4 (3 is also good). If you have not ordered it through this link: https://bit.ly/3aFcEwA. The Raspberry Pi 4 is a very powerful computer with a small size. This will allow us to load the software to be shown on the display.

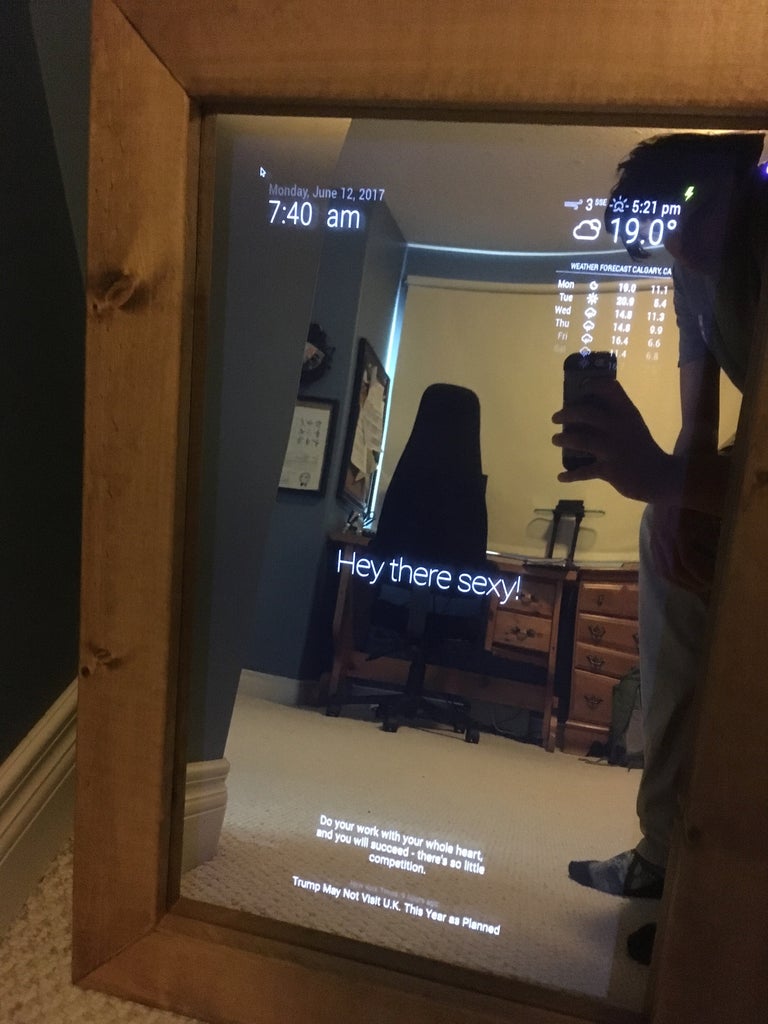
Now is an excellent time to build a smart mirror with low-voltage, ultra-slim displays. We'll build one into a frameless modern design using standard-sized parts and materials in order to minimise the DIY requirement. Combine that with the power, size, and form factor of Raspberry Pi 3A+, and you have yourself a magic recipe.
This is how you can build your own Raspberry Pi powered magic smart mirror Circuit Diagram
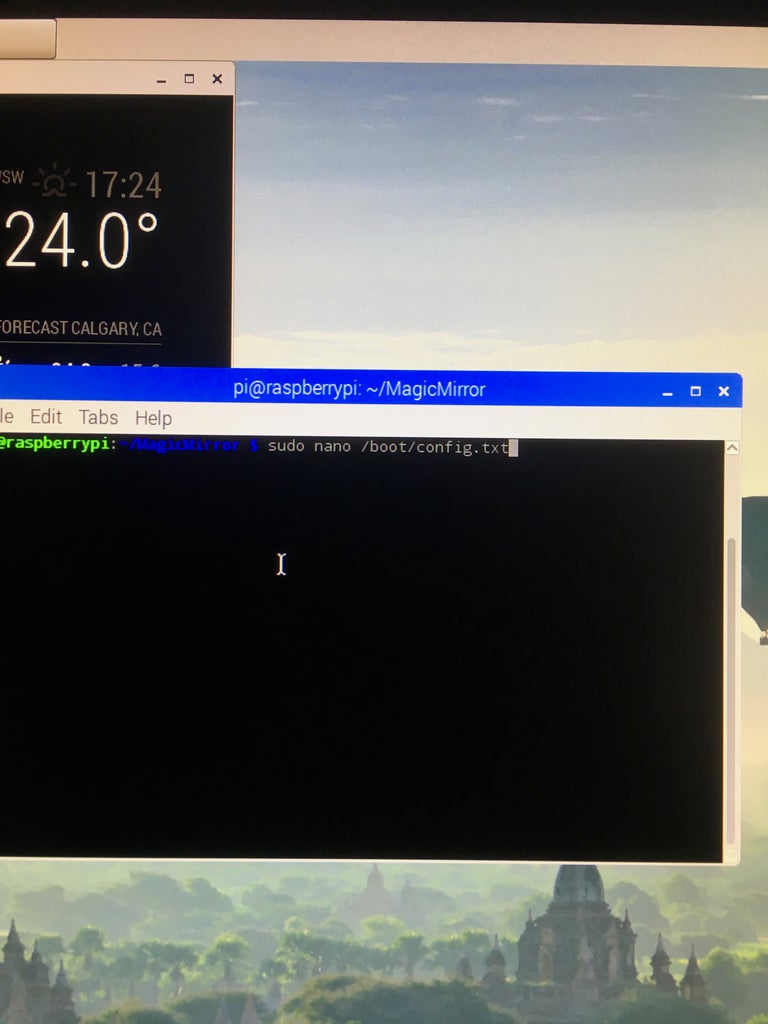
Here are the essential items you'll need to bring your DIY smart mirror project to life: Raspberry Pi 3 or 4: The Raspberry Pi serves as the brain of the smart mirror, providing the necessary computing power. Power supply: Ensure that the Raspberry Pi and other components receive adequate power with a reliable power supply. Screw in your 3D brackets, making sure they are firmly placed. At this point, you can plug in your Pi and your power supply, and MagicMirror should start up. You should see a display behind the mirror (date, time, whatever you put on the program). Congratulations, you now have your very own Smart Mirror! Installing Magic Mirror on Raspberry Pi. To install the magic mirror, your raspberry pi must be connected to a wifi network. The whole installation may take 10 - 20 minutes depending upon your hardware. Make sure that you have the latest version of Raspbian on your Raspberry pi. sudo apt-get update. sudo apt-get upgrade

Here's how to build a smart mirror using Raspberry Pi and the MagicMirror2 software ecosystem. It shows me the weather, the time, my calendar, and any of the other hundred available open-source modules. Since I'm using an old computer monitor, it had a bezel on the front that could be removed to create a more flush fit with the glass. I