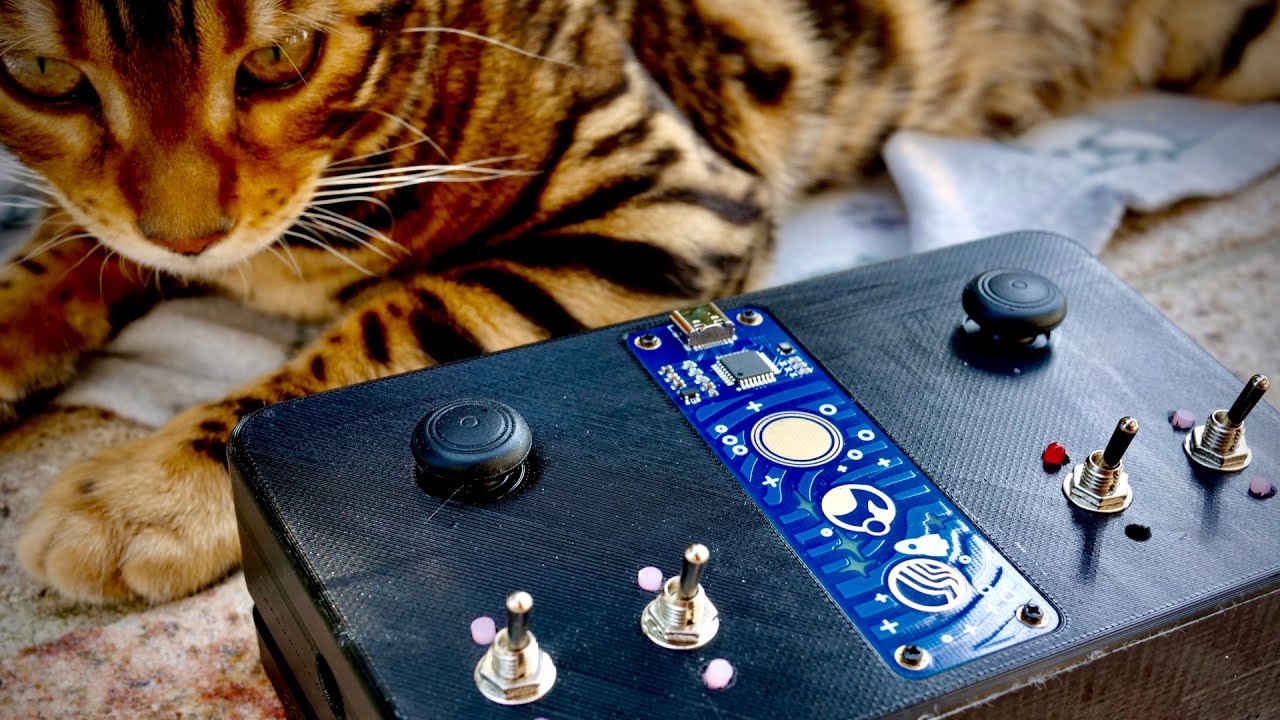
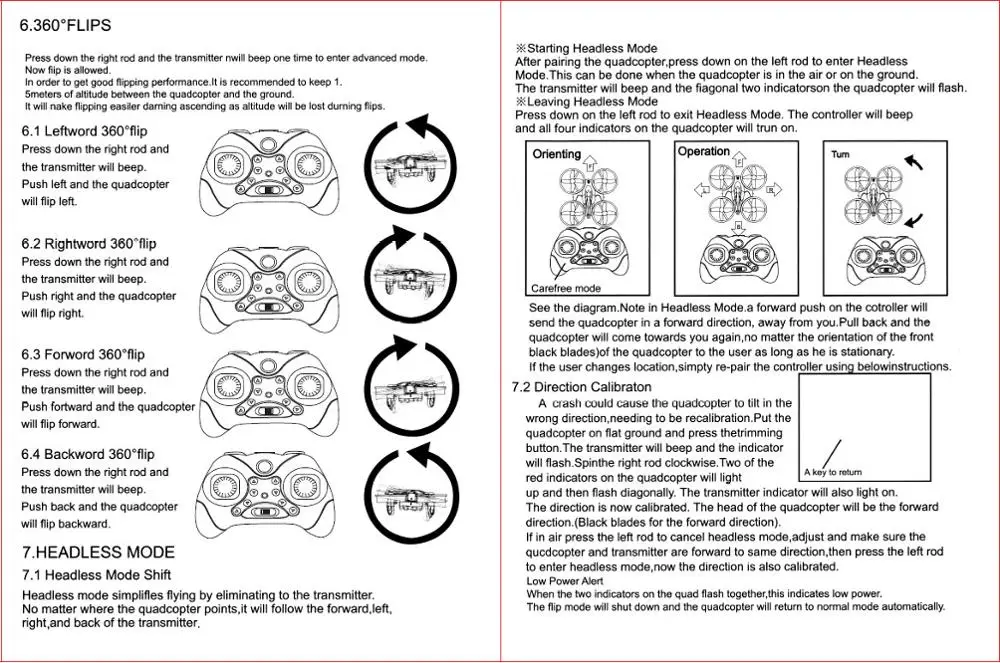
DIY Mini Drone Kit 24GHz Circuit Diagram Just make sure it has enough room to carry Raspberry Pi (Zero/ Zero-Wireless/Model 3 B/ Model 3 B+). So you don't have a vehicle to work on. That's okay. Literally just Google DIY Pixhawk quadcopter and you'll find a lot of build guides and configuration and you'll even find whole kit available on Amazon, Ebay and AliExpress. 8: RC Transmitter: You can program and control your Quadcopter by an RC transmitter. You can choose two modes, Acrobatic or Stable. As a beginner you should stick to Stable mode, the motor speeds will be controlled automatically and the drone will remain balanced. In an Acrobatic mode, the gyroscope is the only one processing values.
The first thing you need to do is to take the female headers and solder them to the prototype board. This will house your Arduino board. Solder them right in the center so that there's room for the rest of the headers for the MPU, Bluetooth module, Receiver, and the ESCs, and leave some space for some additional sensors you may decide to add in the future. This tutorial will guide you through the process of building a remote-controlled drone using Java and Raspberry Pi. We will cover everything from setting up the hardware to programming the flight controls and connecting to a remote controller. Drones have become increasingly popular for both recreational and professional applications. Understanding the Basics of RC Drones. Before we dive into the build process, it's essential to understand the fundamental components and principles of RC drones. An RC drone, also known as a quadcopter or unmanned aerial vehicle (UAV), is a remotely controlled aircraft that uses rotors to generate lift and propulsion.

Raspberry Pi Smart Drone Guide Circuit Diagram
So here we propose to design a small UAV glider drone equipped with 360° Rotating surveillance camera that transmits live footage over to a mobile phone through internet. The system has following advantages over large drones: It is undetectable by radars as it is of the size of a birds. It can fly at low altitudes due to smaller size. Finally, we control remotely the drone with a remote control that send commands to the receivers and sends them to the flight controller. The Raspberry Pi also provides a stream that can be viewed on any browser from a device like a phone for example. This way we can view what the Pi Camera sees when it's in the air. In conclusion, building a remote control drone requires patience, attention to detail, and technical knowledge. By following this comprehensive guide, you'll be well on your way to creating your very own drone and taking to the skies. Remember to always follow safety guidelines and regulations, and practice flying in an open area with minimal