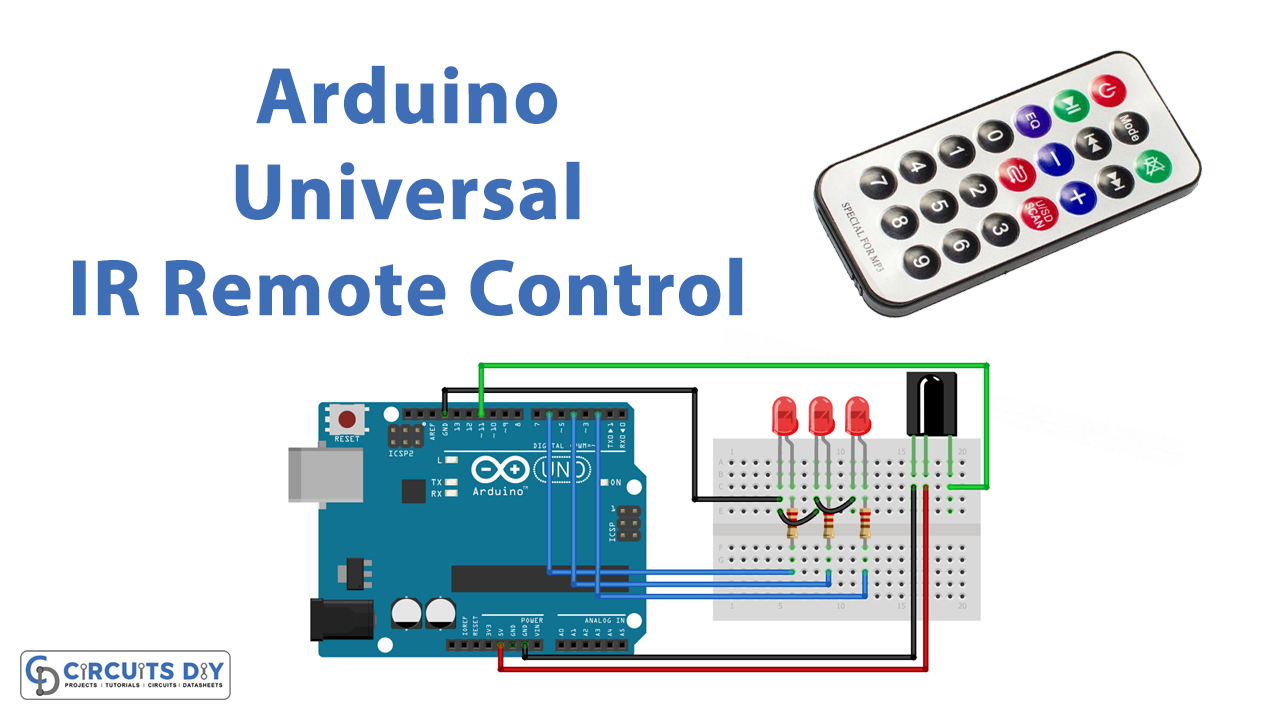
diagram Hobby Electronics Circuit Diagram Now I'll show you a simple demonstration of how you can use the IR remote to control the Arduino's output pins. In this example, we will light up an LED when a particular button is pressed. You can easily modify the code to do things like control servo motors, or activate relays with any button press from the remote.

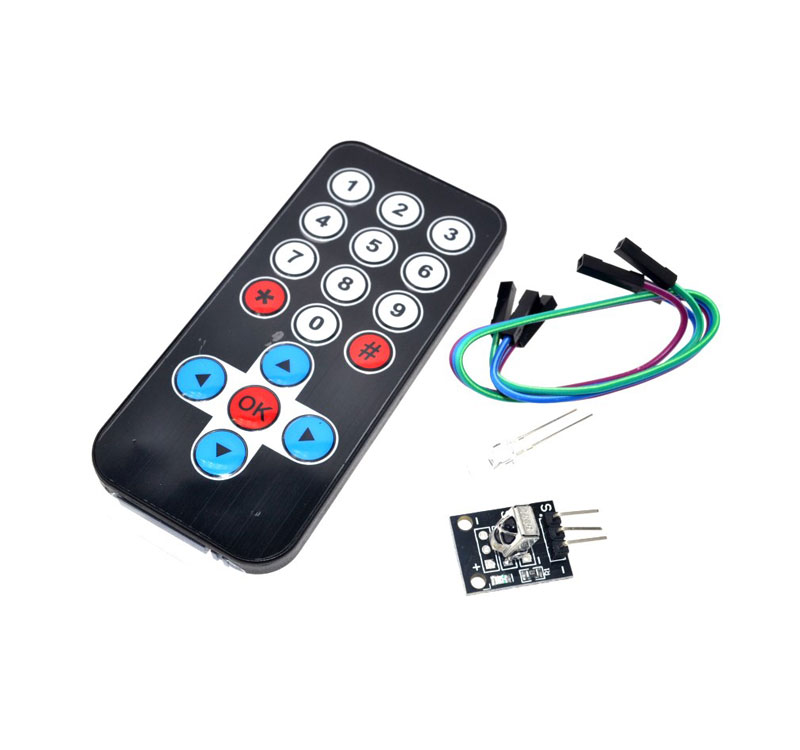
In this tutorial, you'll learn about IR protocol and how to use the IR receiver Module. First, you'll see how the IR protocol works, and then you will learn to use an IR remote control kit with Arduino. Some practical examples are also provided to help you learn it better. What You Will Learn. What IR is and how it works In our IR remote with Arduino project, we need to capture this modulation using an IR receiver. For this purpose, we'll use the KY-022 infrared sensor receiver module. One advantage of this module is that the printed circuit board clearly labels its terminals, making it easy to connect to an Arduino without any confusion.
How to Use IR Remotes With Arduino : 10 Steps Circuit Diagram
Install an Arduino library for the IR remote controller. Be reassured: you won't have to write hundreds of lines of code to be able to decode the data you get from the IR receiver. Someone already did that for you. All you need to do is to install an Arduino library and use it. To do that, open the Arduino IDE. Go to Tools > Manage Libraries.
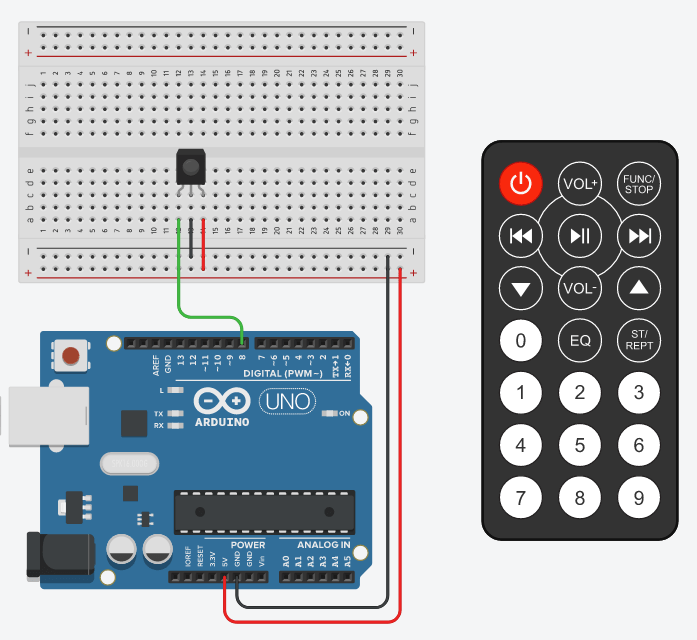
Introduction: How to Use IR Remotes With Arduino. By AJ_Smoothie Youtube Follow. More by the author: /* Some Sample code of how to use your IR remote * Lets get started: The IR sensor's pins are attached to Arduino as so: Pin 1 to Vout (pin 11 on Arduino) Pin 2 to GND Pin 3 to Vcc (+5v from Arduino) */ #include
Using an IR Reciever and Remote Circuit Diagram
Arduino Infrared Remote Tutorial: It is really easy to control an Arduino using an infrared remote. There is one particular remote that is available from multiple sources and is really quite cheap, they look and operate in a very similar way. NEOMART Raspberry Pi HX1838 Infrared Re… Control LEDs (Arduino outputs) with IR remote and receiver. Although it's fun to see the key values in the Serial Monitor or on an LCD display, you will probably want to use the remote for something more useful, i.e. actual control something. In the following example, I will show you how to toggle LEDs on and off with the remote. Explanation of the Code: 1. Including the IRremote Library #include
