Arijit1080Open Circuit Diagram We've shown previously that you can run ChatGPT on a Raspberry Pi, but the catch is that the Pi is just providing the client side and then sending all your prompts to someone else's powerful server in the cloud.However, it's possible to create a similar AI chatbot experience that runs locally on an 8GB Raspberry Pi and uses the same kind of LLaMA language models that power AI on Facebook Well, wonder no more - with the power of Alpaca.cpp and the new Raspberry Pi 5, you absolutely can! This post is going to be an unique post. Because, we are going to show you how to run a ChatGPT like model locally on a tiny computer like Raspberry Pi and eventually turn your raspberry Pi into an AI ChatBot server. Well, if you are afraid
In this final section I repeat the llama.cpp setup on the Raspberry Pi 4, then copy the models across using a USB drive. Then I load an interactive chat session and ask "Bob" a series of To set up LlamaGPT on a Raspberry Pi, you will need to follow a series of steps to ensure that the environment is correctly configured for running the AI chatbot efficiently. This guide assumes you have a Raspberry Pi with a compatible operating system installed, preferably Raspberry Pi OS.

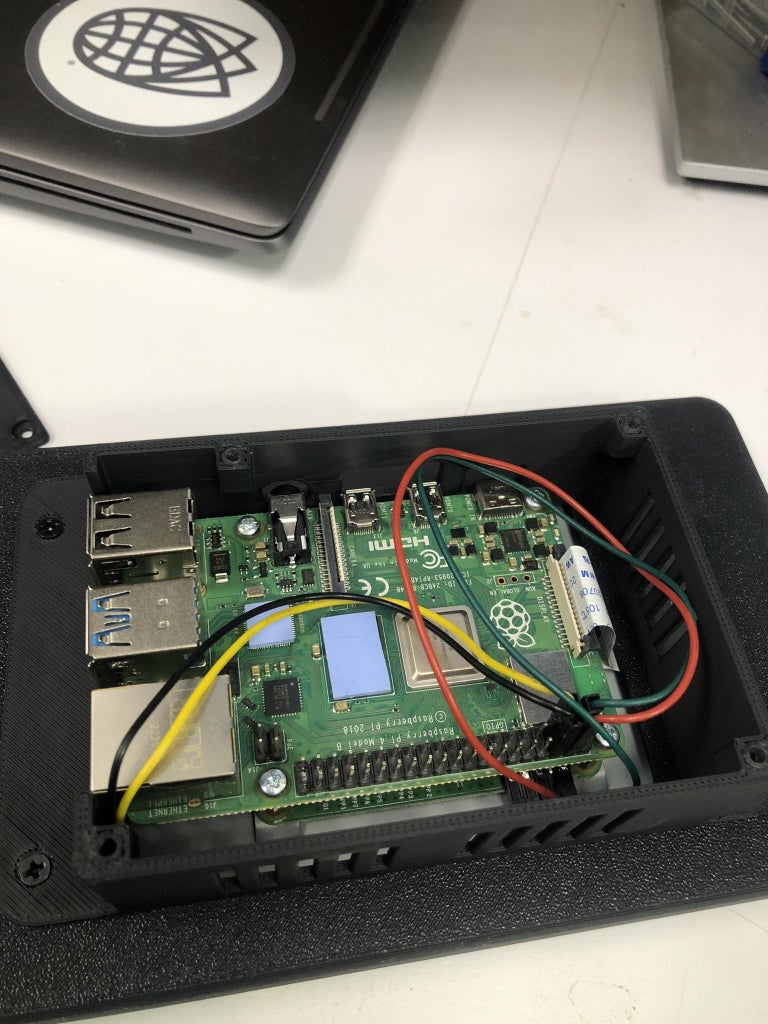
Build an AI ChatBot Server with Raspberry Pi Circuit Diagram
Explore how to build a chatbot using Python on Raspberry Pi for your AI projects in 2023-2024. | Restackio. Explore how to build a chatbot using Python on Raspberry Pi for your AI projects in 2023-2024. | Restackio. This chatbot can be further enhanced by integrating more complex data sources and refining its responses based on user
Unlock the power of artificial intelligence with Raspberry Pi! Whether you're a hobbyist, tech enthusiast, or developer, building an AI bot using Raspberry Pi offers endless possibilities. This guide walks you through the essential steps to create a fully functional AI-powered bot on a Raspberry Pi.

Activated Chatbot Using OpenAI and Raspberry Pi Circuit Diagram
Step 2: Setting Up Raspberry Pi A. Install Raspberry Pi OS. Download the Raspberry Pi Imager from the official Raspberry Pi website. Install the Raspberry Pi OS (64-bit or 32-bit depending on your Raspberry Pi model) using the Raspberry Pi Imager onto an SD card (16GB or higher). Insert the SD card into your Raspberry Pi and power it on. NOW let me explain how this chatboat works here raspberry pi works as server& our app acts as client. Python server on Raspberry pi handles all the requests from the client. make sure RPi & android phone should be connected to same wiffi network. You can also access your server outside Your Home wiffi network by Port forwarding.
